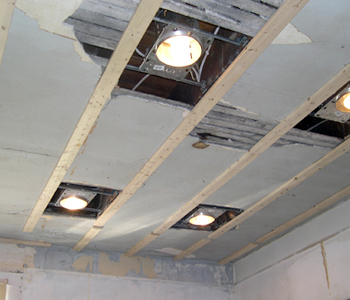
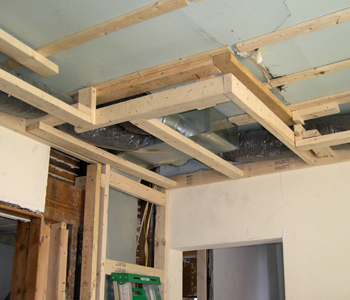
ian spent most of saturday attaching furring strips to the ceilings and building boxes around the ductwork; since there was only 1 nail gun, i lended a hand measuring, doing some yardwork and finishing up a few freelance projects.
step 1:
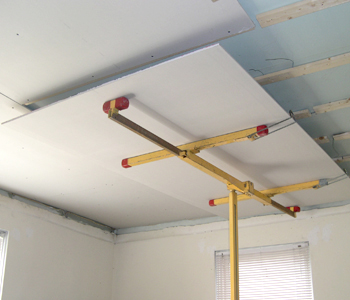
we got an early start sunday by heading to home depot to rent the drywall lift. after getting that assembled and working with 18+ sheets of drywall... ahh, the fun begins.
step 2:
new kitchen ceiling:
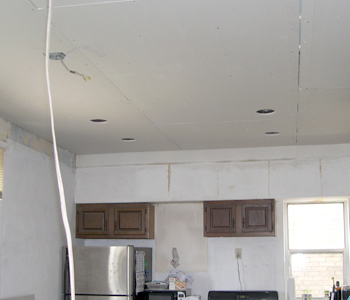
now we just need to spend a few evenings finishing the drywall and painting the ceilings. then its time for the real makeover... cabinets, counters, backsplashes... oh my!
1 comment:
I agree wholeheartedly with you about the drywall lift. Will refer my web users to your blog since I liked the story and illustrates my point. Thanks, Tom
Post a Comment